
Is MiniMax H3 3D to Video available online here?
Yes. The dedicated H3 Max 3D-to-Video task is connected to the generator on this page. Upload a 3D preview, optionally add scene intent and references, choose the output quality, and generate online.
Upload a Blender render, blockout, or 3D previs animation and turn it into a polished, photoreal video. Keep the source camera move, blocking, object motion, and timing while you guide the final look with scene intent and optional reference images.
Upload a 3D preview up to 15 seconds. Its layout, camera, motion, and timing guide the finished video.
Only explain details that are unclear in the preview. Camera movement and timing come from the video.
Add up to 8 images for subjects, materials, lighting, or environments.
Preview video - Generate your own video above
Finished-motion inspiration
Use these H3 Max scenes as references for finished motion, materials, lighting, and atmosphere. The dedicated 3D workflow above starts from your own previs rather than these showcase clips.
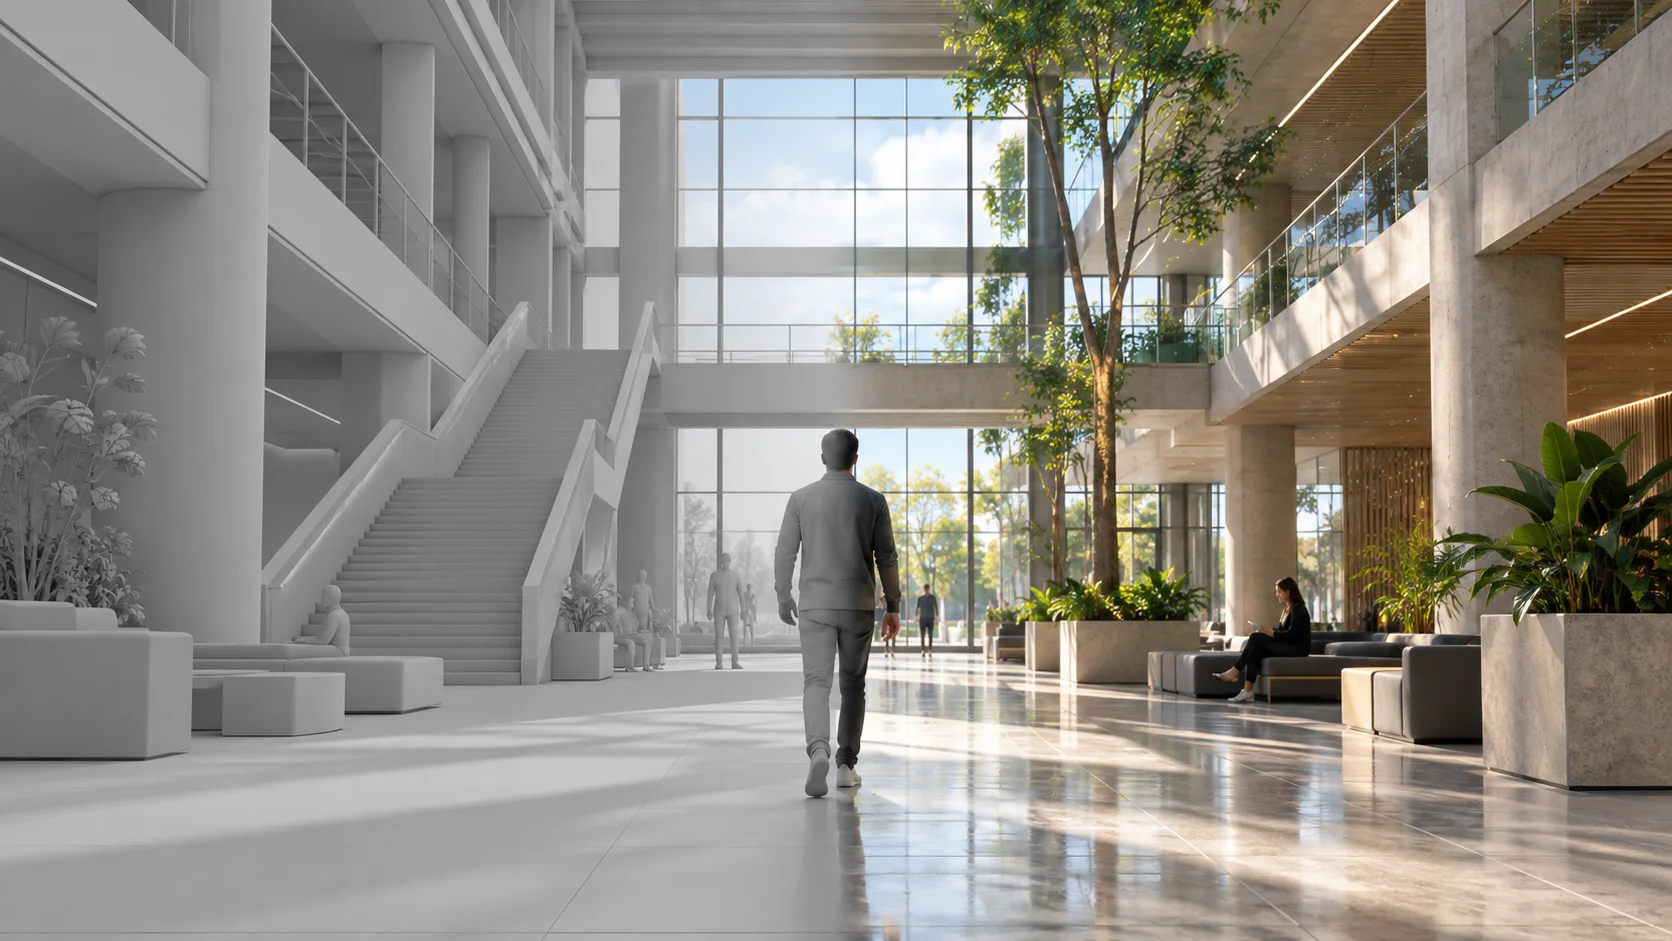
MiniMax H3 3D Rendering on this page uses the dedicated H3 Max 3D-to-Video workflow. Your previs video defines where subjects are, how the camera moves, and when actions happen; optional images and scene intent guide materials, characters, environments, and lighting. The tool is available here now and returns a rendered video—not a mesh, texture set, or editable 3D scene.
Treat the source animation as spatial and temporal direction, then use concise visual guidance where the clay render cannot communicate the intended production design.
Upload a readable clay render or 3D preview with the complete shot already animated. The workflow generates surfaces, lighting, environmental detail, and cinematic texture around that structure, making it useful for turning rough production decisions into a finished visual direction.

Animate the camera, proxies, and edit in your 3D tool before uploading. The source clip guides trajectories, object count, framing, cuts, and shot timing so directors and previs artists can explore a finished look without surrendering the core staging.
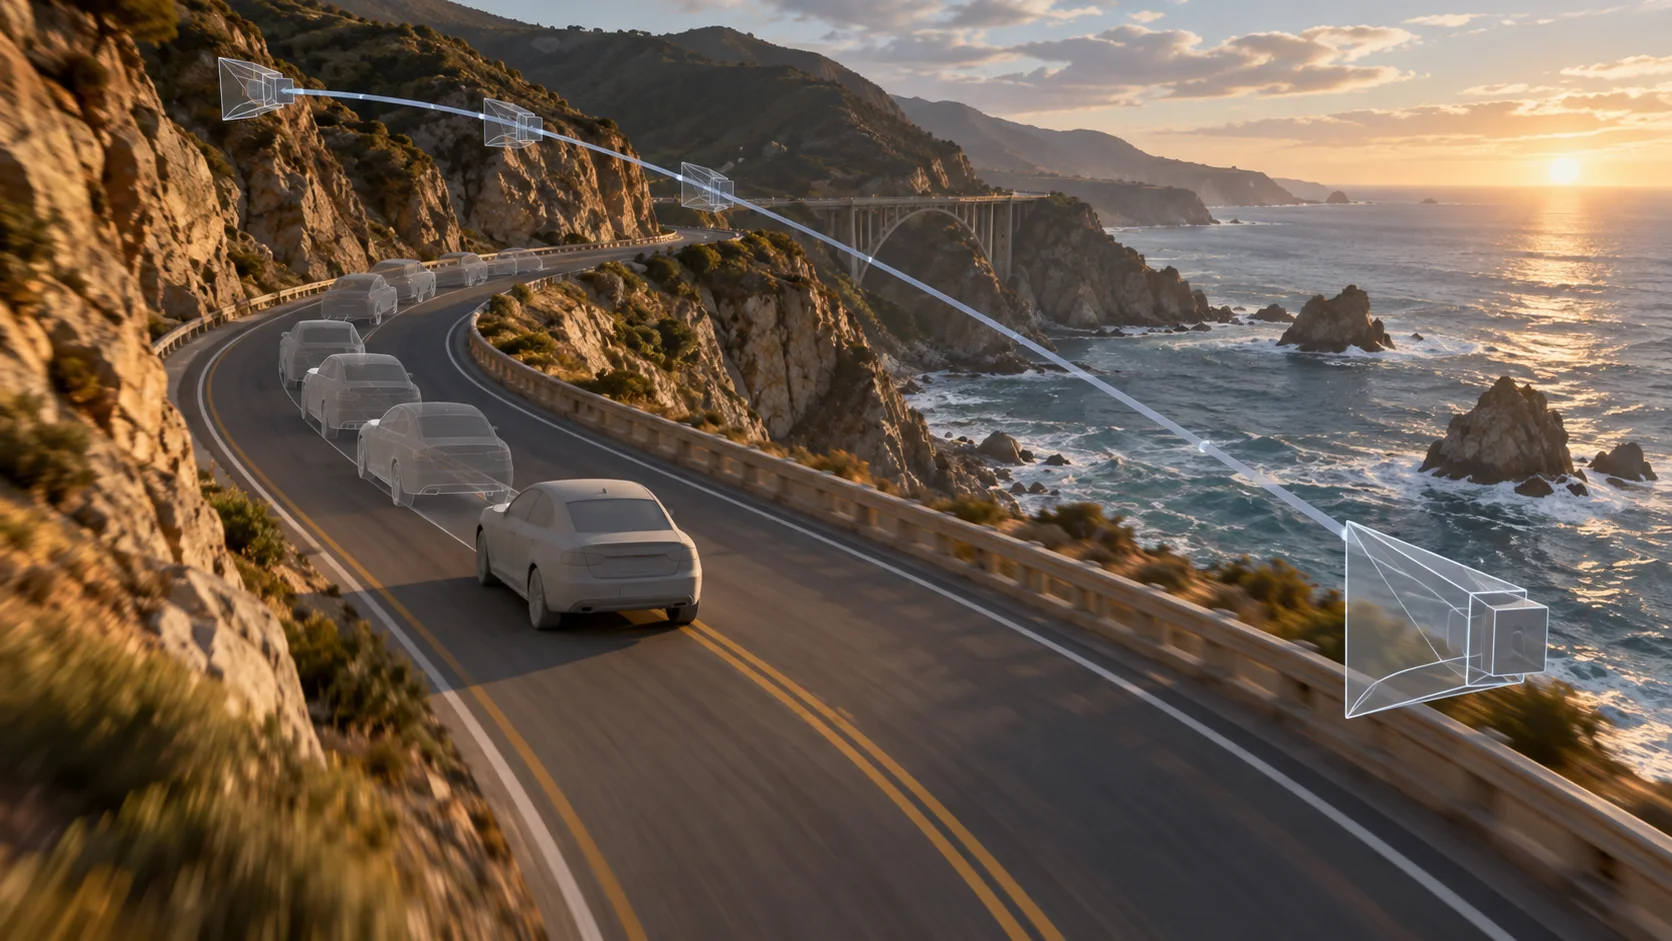
Use the previs for position and motion, then add clear references for a character, environment, interior, material, or lighting treatment. A short scene-intent prompt can explain ambiguous proxies or connect a reference to the correct object.
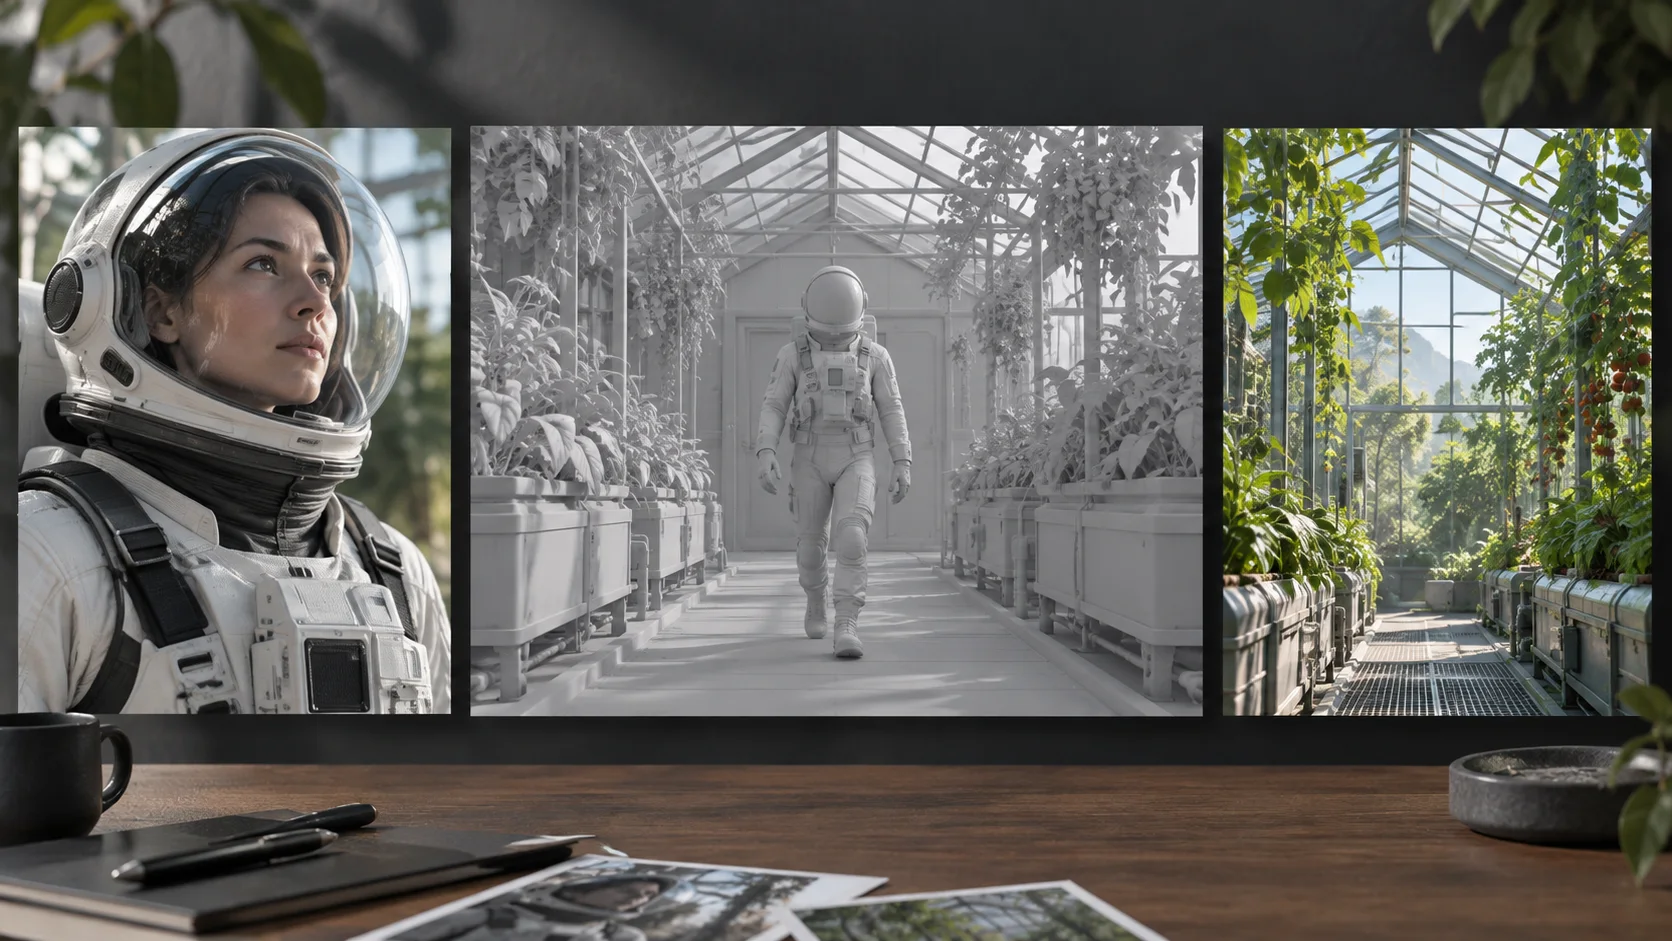
Make the structural decisions in your 3D scene first, then use references and a short clarification to direct the generated finish.
Export a clip up to 15 seconds with readable proxies, camera movement, blocking, cuts, and object motion. Keep important shapes distinct even when the geometry is simple.
Add the preview video. Use the optional prompt to explain what unclear proxies represent or to specify the intended atmosphere without restating visible motion.
Upload consistent images for subjects, environments, materials, or lighting. If you skip them, choose how many new appearance references the workflow may generate.
Select 480P, 768P, or 1080P, review the credit estimate, and generate. Check camera fidelity, blocking, reference use, and any geometry changes before the next pass.
Use animated 3D structure to lock the essential shot decisions, then explore a more finished visual treatment for review, pitching, or creative development.
Turn an animated building walkthrough into a filmic visualization while retaining the planned route and room layout.
Keep a designed turntable, reveal, or camera move while exploring materials, lighting, and campaign atmosphere.
Convert staged character blocking and camera choreography into a more realistic proof of concept for a director or client.
Use engine or DCC previews to explore a polished cutscene look without rebuilding the approved timing and action.
Present a rough effects layout or virtual-camera pass with generated environments, materials, and lighting for creative review.
Move from an approved 3D animatic to a realistic campaign treatment for products, vehicles, spaces, or visual reveals.
Practical answers about previs files, appearance references, resolution, shot structure, and what the generator returns.
Yes. The dedicated H3 Max 3D-to-Video task is connected to the generator on this page. Upload a 3D preview, optionally add scene intent and references, choose the output quality, and generate online.
Upload an animated Blender render, blockout, clay render, or other 3D previs video. It should already contain the framing, camera path, blocking, cuts, and motion you want the result to follow.
The generator accepts a source video up to 15 seconds and 100MB. The endpoint supports up to 32 shots in one request, and the output duration follows the input video.
No. Reference images are optional. Add them when you want direct control over a character, environment, material, or lighting look. Without them, the workflow can create appearance references from the video and scene intent.
This generator accepts up to eight uploaded reference images. If you provide none, you can set the maximum number of new appearance references from one to eight; two is the default.
Choose 480P, 768P, or 1080P. The displayed credit estimate changes with the input duration, selected resolution, and whether the workflow needs to generate appearance references.
No. It returns a finished video. It does not produce an editable mesh, rig, texture set, material graph, camera file, or Blender scene. Keep the source project for later 3D revisions.
Not exactly. The source provides strong layout, camera, motion, and timing guidance, but the result is generative. Fine geometry, occlusion, surfaces, faces, and reference details can change, so review important production constraints.
Clarify what a proxy represents, how an ambiguous object should move, or what atmosphere the shot needs. Do not use the prompt to replace motion and camera decisions that should already be visible in the previs.
Upload the animated shot you already planned, guide its final appearance, and generate a photoreal video while keeping the core camera and timing.