
MiniMax H3 runs in ComfyUI through official native workflows for text-to-video, image-to-video, and reference-to-video generation. The reliable starting point is to update ComfyUI, load the matching official template, download the workflow-specific weights, and test a short 768p job before adding LoRAs or advanced nodes.
Quick answer: Use the FL2VA weights for text-to-video and image-to-video. Use the separate Ref2VA weights for reference-to-video. Both workflows also need the H3 text encoder plus video and audio VAEs. Do not mix the two diffusion models in one base workflow.

What you need before running MiniMax H3 in ComfyUI
Start with a current ComfyUI installation. MiniMax H3 support, templates, and newer native nodes have landed across recent updates, while Desktop and Cloud builds can trail the newest nightly changes. If a template or node mentioned here is missing, follow the official ComfyUI update guide before installing third-party custom nodes.
You also need:
- A CUDA-capable system with enough GPU memory for your chosen resolution and clip length.
- Free disk space for the diffusion model, text encoder, video VAE, audio VAE, and any optional LoRA files.
- The official MiniMax H3 ComfyUI model pack.
- The official template that matches your task: T2V, I2V, or R2V.
- Time for an initial low-risk test before increasing resolution, duration, or reference count.
The official documentation does not promise one universal minimum VRAM figure. Memory use changes with workflow, model precision, resolution, frame count, reference media, attention implementation, and other nodes loaded in the same graph. Treat community claims such as “runs on 6GB” or “needs 24GB” as configuration-specific reports, not a guarantee for every MiniMax H3 ComfyUI setup.
Choose the correct MiniMax H3 ComfyUI workflow
The three official base workflows share some files but solve different creative tasks.
| Workflow | Best for | Main input | Diffusion weights |
|---|---|---|---|
| Text-to-video (T2V) | Creating a shot from a written scene, camera, and audio description | Prompt | FL2VA |
| Image-to-video (I2V) | Animating a first frame or connecting a first and last frame | Prompt plus optional first/last images | FL2VA |
| Reference-to-video (R2V / Ref2VA) | Preserving a character, style, motion, camera move, or voice from reference media | Prompt plus images, videos, or audio | Ref2VA |
The official MiniMax H3 native workflow guide includes downloadable JSON templates and Template Library names for all three modes. Begin with those templates. A third-party graph can be useful later, but it adds variables when you are still verifying the base installation.
Text-to-video
Choose T2V when the prompt alone should define the scene. MiniMax H3 can generate synchronized video and audio, so describe the visual action, camera movement, dialogue, ambience, sound effects, and music in one coordinated prompt rather than treating sound as an afterthought.
Image-to-video and first-last-frame video
Choose I2V when you have a starting composition. The native MiniMaxH3ImageToVideo node accepts an optional first frame and last frame. A first frame anchors the opening appearance; adding a last frame also gives the motion a visual destination.
Reference-to-video
Choose R2V when identity, style, motion, camera behavior, or voice should come from reference media. The official workflow supports up to nine reference images, three reference videos, and three standalone audio clips. Assign each reference a clear job in the prompt and refer to it in connection order. R2V uses its own Ref2VA diffusion weights, not the FL2VA file used by T2V and I2V.
If you want reference-guided generation without managing local weights, use the MiniMax H3 Ref2VA online workflow.
Install the MiniMax H3 model files in the right folders
Open ComfyUI's Template Library and search for MiniMax H3 T2V, MiniMax H3 I2V, or MiniMax H3 R2V. The template notes link to the files it expects. Download files from the official Comfy-Org repository rather than relying on similarly named uploads from an unknown account.
Place each file type in its matching directory:
ComfyUI/
└── models/
    ├── diffusion_models/
    │   ├── minimax_h3_fl2va_pruned_int8_convrot.safetensors
    │   └── minimax_h3_ref2va_pruned_int8_convrot.safetensors
    ├── text_encoders/
    │   └── qwen3vl_32b_minimax_h3_nvfp4_awq.safetensors
    ├── vae/
    │   ├── minimax_h3_video_vae_int8_convrot.safetensors
    │   └── minimax_h3_audio_vae_fp32.safetensors
    ├── loras/
    │   └── minimax_h3_*_turbo_*.safetensors
    └── embeddings/
        └── minimaxh3_*.safetensors
You do not need both diffusion models for every task. Download FL2VA for T2V/I2V, Ref2VA for R2V, or both if you plan to use all three workflows. Turbo LoRAs and style embeddings are optional; verify a base workflow first.
After copying the files, restart ComfyUI or refresh its model list. If the graph still shows an unavailable model, compare the folder and filename with the template note. A correct file in the wrong model directory will not appear in the expected selector.
MiniMax publishes the base model under the MiniMax H3 Community License. Review the current license and acceptable-use terms before distributing weights, offering a hosted service, or using outputs commercially.
Use safe first-run settings
For a first successful run, keep the graph close to the official template:
- Select the matching FL2VA or Ref2VA diffusion model.
- Confirm that both the video VAE and audio VAE are loaded.
- Start at the native 768-pixel short-edge canvas; the official 16:9 example is 1344 × 768.
- Use a short clip before testing the upper duration range.
- Keep the default base sampling path before enabling a turbo LoRA.
- Use one simple prompt and the minimum number of references needed for the task.
- Queue one job and confirm that both video and audio decode correctly.
The native workflow rounds dimensions to multiples of 32. Its duration follows MiniMax H3's frame-block grid at 24 fps, so the displayed frame count may snap to a valid value rather than matching an arbitrary number exactly.
The official base templates use 20 sampling steps. The optional Lightning LoRA can reduce the workflow to an eight-step path for faster iteration, with some tradeoff in motion and audio quality. Use the base path to establish a quality reference before deciding whether the turbo result is acceptable for your project.
Plan VRAM before raising quality
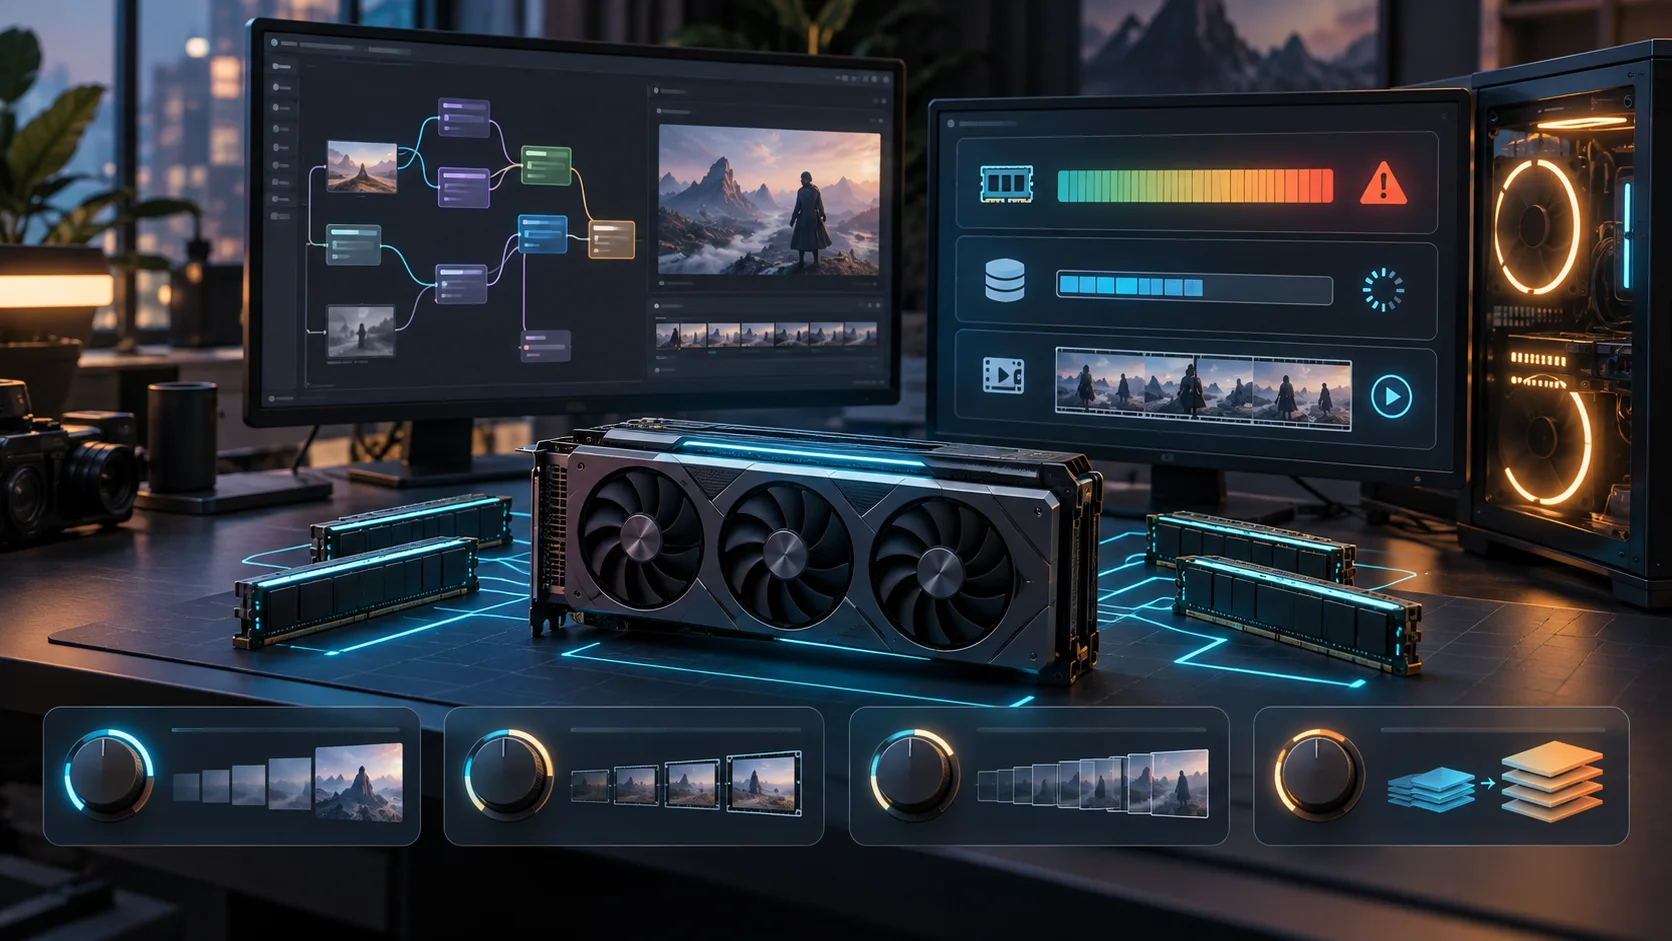
Resolution and clip length are the first controls to reduce when a job runs out of memory. Video latent size grows across both space and time, so increasing the canvas and duration together is much more demanding than changing one setting alone.
Use this order when tuning a local MiniMax H3 ComfyUI workflow:
- Prove the graph at 768p with a short clip.
- Use the optimized or quantized files referenced by the official template.
- Reduce resolution before removing essential conditioning.
- Reduce duration or reference count if memory pressure remains.
- Close other GPU-heavy applications and unload unused models.
- Add LoRAs, upscalers, interpolation, or long-video chaining one component at a time.
Sampling fewer steps mainly reduces generation time; it is not a universal fix for peak VRAM. Likewise, a workflow that fits one GPU may fail on another system with the same advertised memory because software versions, attention backends, and other loaded nodes differ.
If local hardware is the main blocker, generate MiniMax H3 video online instead of spending time rebuilding the graph around an unverified low-memory preset.
Write prompts for video and audio together
MiniMax H3 prompts work best when they describe the whole scene first and then define the shot sequence, camera, action, and sound. A useful structure is:
Scene and subject. Shot timing and camera movement. Character action and expression.
Dialogue, ambient sound, sound effects, and music. Final composition or transition.
For I2V, describe how the supplied frame should move rather than repeating every visible detail. For R2V, give each reference one explicit responsibility: identity from one image, costume from another, motion from a video, and voice from an audio clip. Ambiguous assignments make it harder for the model to decide which reference should control each part of the result.
Fix common MiniMax H3 ComfyUI problems
The template or native node is missing
Update ComfyUI first. Some native H3 features appear in newer builds before they reach every Desktop or Cloud stable release. Do not install an unrelated custom node solely because an old build cannot find the official node.
The workflow cannot find a model
Check the file category, folder, and exact filename. The diffusion model belongs in diffusion_models, the Qwen text encoder in text_encoders, both VAEs in vae, and turbo files in loras. Restart or rescan after adding files.
Generation exits with an out-of-memory error
Return to the official template, lower resolution, shorten the clip, reduce references, and unload other models. Once the base graph succeeds, add optional components individually. Do not assume a low-step LoRA alone will solve a graph whose latent tensors exceed available memory.
R2V ignores a reference
Confirm that you loaded the Ref2VA diffusion model. Refer to media in its connection order and say what each item controls. The official workflow's match reference-size option favors speed, while max preserves more reference detail at additional cost.
Video renders but audio is missing or weak
Confirm that the audio VAE is present and connected. Then describe audible events in the prompt: who speaks, what the environment sounds like, which effects align with the action, and whether music should be present.
A graph reports a shape mismatch after changing modes
Do not reuse FL2VA-specific components inside a Ref2VA graph without verifying compatibility. Reload the official template for the intended mode and move your prompt or references into that clean graph.
Advanced native workflows worth adding later
Once the base setup is stable, current native nodes support more controlled workflows. MiniMaxH3AddGuide can anchor an image, video clip, or audio guide at a chosen frame instead of limiting guidance to the first and last frames. Per-token noise masks can also regenerate or extend selected video and audio regions while retaining the rest.
These features are useful for controlled transitions, continuation, partial regeneration, and longer sequences, but they should come after a successful base T2V, I2V, or R2V test. Update ComfyUI and start from the official advanced templates because node inputs can change as support evolves.
Local ComfyUI or an online MiniMax H3 generator?
Choose local ComfyUI when you need graph-level control, repeatable node experiments, local model files, optional LoRAs, or a workflow you can inspect and modify. Choose an online generator when you want to create without downloading large weights, maintaining nodes, or fitting the graph into local VRAM.
H3Vid does not run your local ComfyUI graph or host custom nodes. It provides a separate online MiniMax H3 workflow for text, frame-guided, and reference-based generation. That makes it a practical fallback for testing an idea before investing time in a local setup.
MiniMax H3 ComfyUI FAQ
Is MiniMax H3 officially supported in ComfyUI?
Yes. ComfyUI provides native MiniMax H3 nodes and official templates for T2V, I2V, and R2V workflows. Update ComfyUI if they do not appear in your installation.
Do I need custom nodes for the base workflows?
No. The base workflows described here use native ComfyUI support. Third-party custom nodes may add optimizations or specialized controls, but they are not the best first step for verifying an installation.
How much VRAM does MiniMax H3 need in ComfyUI?
There is no single official minimum that covers every workflow and GPU. Resolution, duration, precision, references, loaded nodes, and software versions all affect memory use. Begin with the optimized official template at 768p and a short clip, then scale one variable at a time.
Which model should I download for MiniMax H3 ComfyUI?
Use the FL2VA diffusion model for text-to-video and image-to-video. Use the separate Ref2VA diffusion model for reference-to-video. Both need the H3 text encoder plus video and audio VAEs.
Can MiniMax H3 generate audio in ComfyUI?
Yes. The native workflows generate synchronized video and audio when the audio VAE is installed and the workflow is connected correctly. Include dialogue, ambience, effects, or music in the prompt when they matter.
Can I run MiniMax H3 without downloading local models?
ComfyUI Partner Nodes and online generators use hosted inference rather than the native local-weight path. If you do not need a node graph, the simplest option is to try MiniMax H3 online.